Fresh Animal Proteins
Adding fresh animal proteins to the menu in a school food program can lead to several positive outcomes. Using raw proteins makes dishes taste better, there can be health benefits, and if purchased locally, there are significant benefits for the local economy. It’s also a great way to educate students about the benefits of high-quality, local protein.
Proper training on food safety and cooking procedures is an important step prior to adding fresh animal protein to the menu. This page is designed to help ensure your school food program safely and successfully adds fresh animal proteins.
Receiving
Products must meet specifications and quality requirements. If any foods are deemed unacceptable, they should be rejected and put in a designated area for credit. Receive only one delivery at a time from approved suppliers. Check the temperature of the items first.
Frozen products should be fully frozen without signs of defrosting. Refrigerated products should not be above 41°F. Reject potentially hazardous foods that are not at an acceptable temperature.
Evaluate the quality of products by smell, sight, and touch.
Color changes are normal for fresh products. With spoilage, there can be a color change—often a fading or darkening. However, it is important to note that change in color alone does not mean the product is spoiled. In addition to the color change, the meat or poultry will have an “off” odor. Touch the product to see if it is sticky or tacky to the touch, or it may be slimy. If raw protein has these characteristics, do not use it.
If products are frozen, make sure it is completely solid and do not show evidence of thawing and refreezing. Color changes in frozen foods occur just as they do in the refrigerated food. Fading and darkening, for example, do not affect their safety. These changes are minimized by using freezer-type wrapping and by expelling as much air as possible from the package.
White dried patches indicate freezer burn. When meat and poultry have been frozen for an extended period or have not been wrapped and sealed properly, freezer burn will occur. The product remains safe to eat, but the areas with freezer burn will be dried out and tasteless. Those areas can be trimmed away if desired.

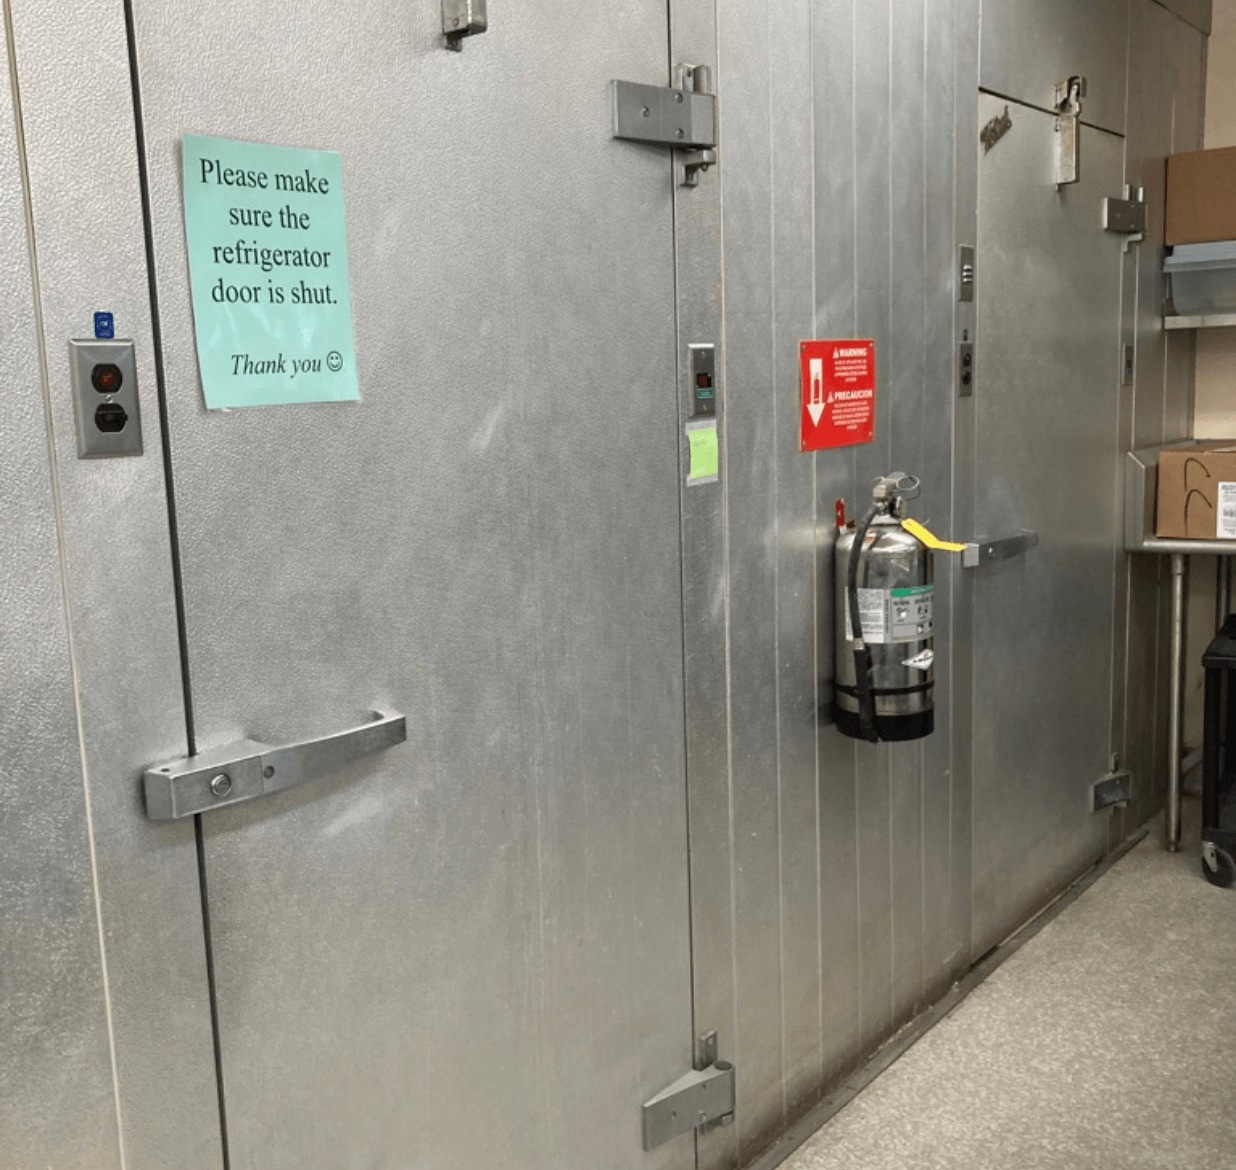
Storage upon Receiving:
Place foods into appropriate storage areas immediately upon receipt in the following order:
- Refrigerated foods: Store foods in designated refrigerators. If food products are stored together in a refrigerator, they must be placed on shelves in the order seen in the image to the left.
- Frozen foods.
- Dry foods.
Keep all food items on shelves at least six inches above the floor to facilitate air circulation and proper cleaning. Rotate goods when placing them in storage by putting the new items behind the old items to ensure that the older items are used first (First In, First Out inventory rotation).
Store food in the original container if the container is clean, dry, and intact. If necessary, repackage the food in clean, well-labeled, airtight containers. This can also be done after opening a package.
See this Ordering and Receiving SOP for more detailed procedures for purchasing and receiving practices.
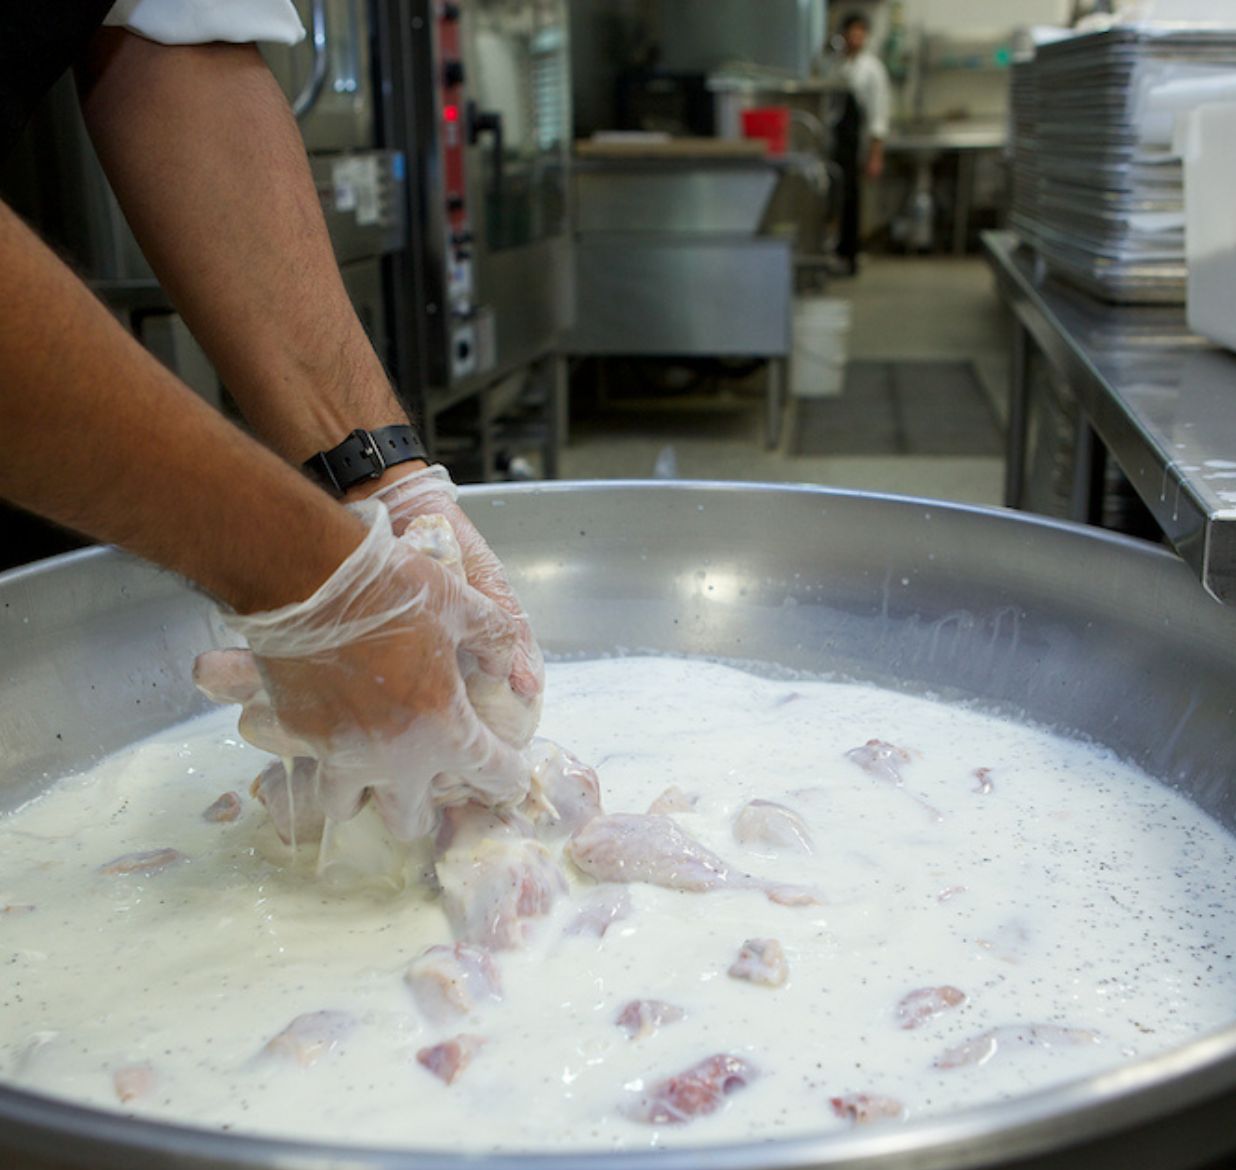
Hygiene
Proper hygiene is essential to a food safe environment, especially when it comes to handling fresh, raw proteins. The key is to wash hands and surfaces often and avoid any risk of cross-contamination throughout the handling process. See the list of proper procedures below:
- Wash your hands with warm water and soap for at least 20 seconds before and after handling food.
- Use one cutting board for fresh produce and a separate one for raw meat, poultry, and seafood. Different colored boards are a good way to keep track.
- Wash your cutting boards, dishes, and utensils before switching to a different protein.
- Use the wash, rinse, sanitize method to clean kitchen surfaces. Use a clean towel for each step.
- Never place cooked food on any surface that previously held raw meat, poultry, seafood, or eggs unless properly washed, rinsed, and sanitized.
- Don’t reuse marinades, breading mixtures, or spice mixtures that have been used on raw foods.
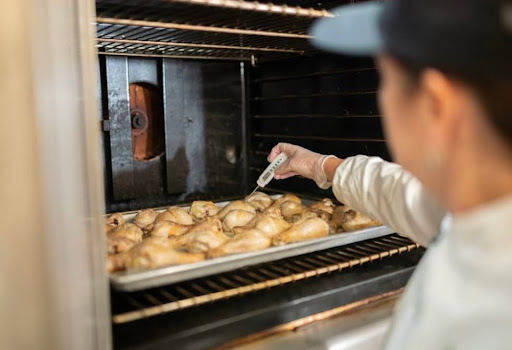
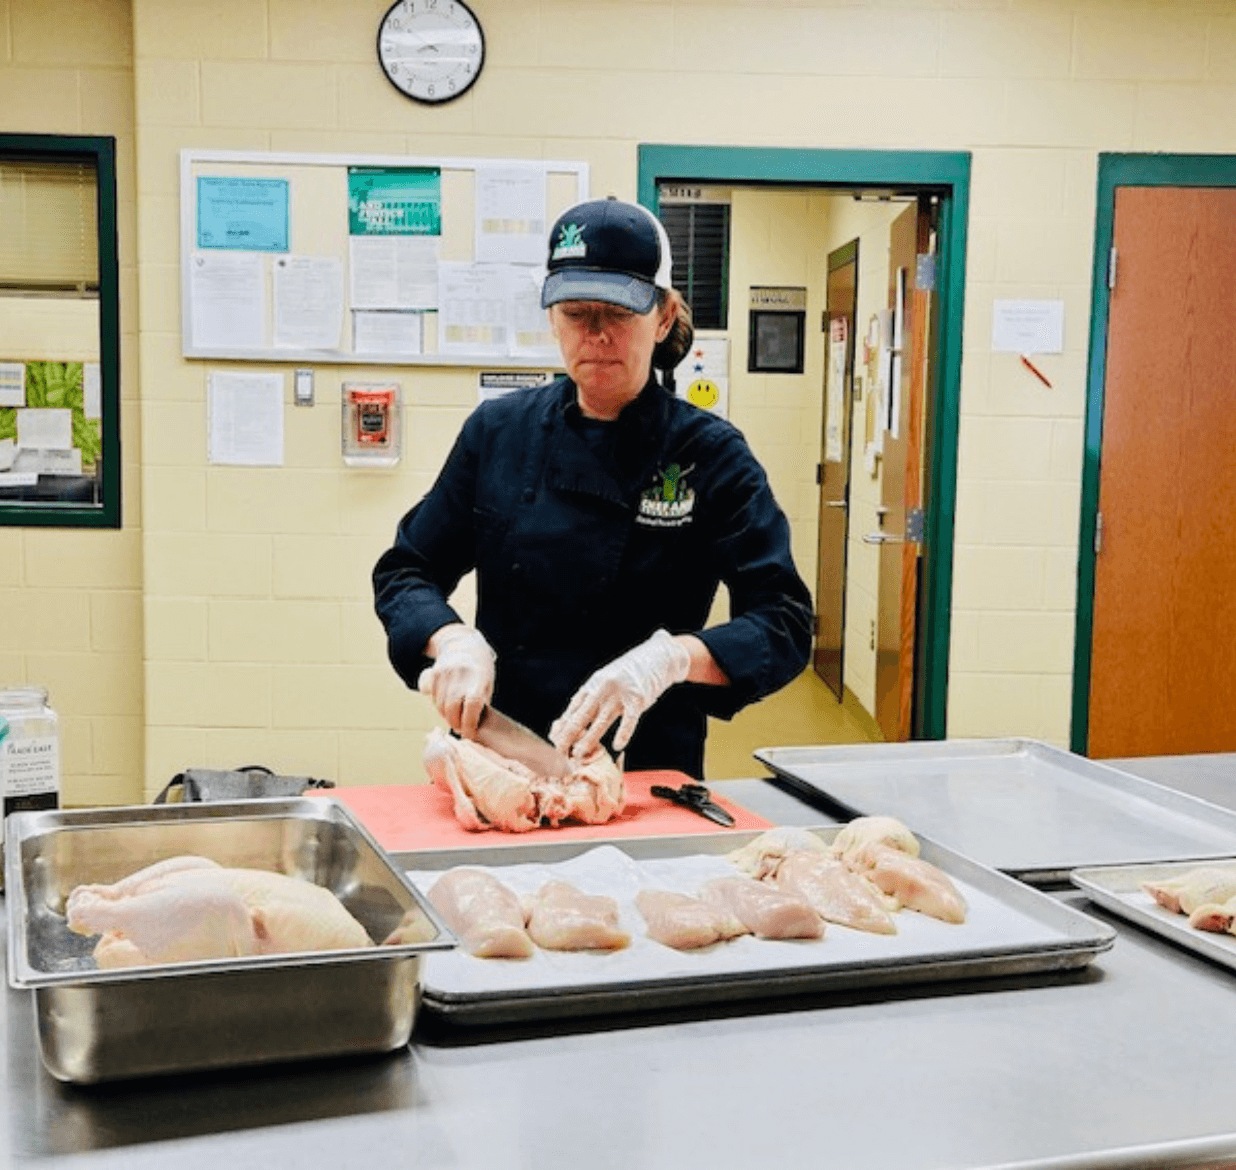
Poultry
Raw poultry can vary from bluish-white to yellow. All of these colors are normal and are derived from breed, exercise, age, or diet. Younger poultry have less fat under the skin, which can cause the bluish cast, and the yellow skin could be a result of marigolds in the feed.
Ground poultry varies in color according to the part being ground. Darker pink means more dark meat was used, and lighter pink means more white meat was included (or skin was included).
Fish
Fish flesh can be ivory to pale gray to yellow depending on the species of fish. Trout and types of salmon can vary from bright red to light pink. Whole fish should have bright red gills, shiny skin, bright, clear, full eyes, and firm flesh that springs back when touched. It should be packed in self-draining ice, 41ºF or below. If the fish has dull gray gills, dull, dry skin, cloudy red-rimmed sunken eyes, strong fishy or ammonia smell, and/or any indication of thawing and refreezing at an unsafe temperature, it should be rejected.
Cook/Chill Method:
When you do not serve cooked food immediately, you must get it out of the temperature danger zone as quickly as possible. That means cooling it quickly. Cool TCS food from 135°F to 41°F or lower within six hrs. Food needs to be cooled down to 70°F within two hours, then to 40°F or below in the next four hours. The total cooling time cannot exceed six hours. If you cannot get the food to cool within those temperature time-frames, it must be discarded.
Check your local regulatory requirements for verification on times and temperatures.
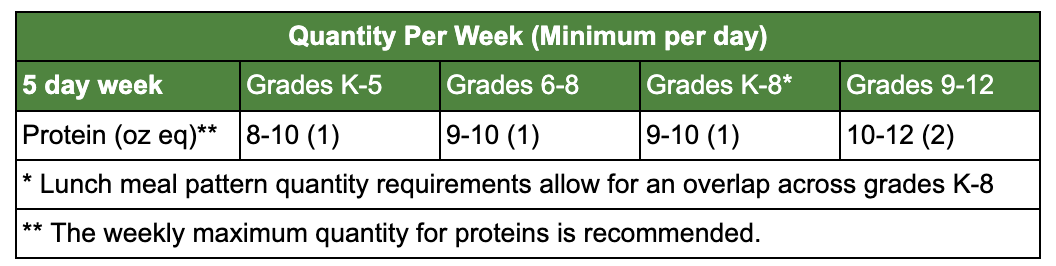
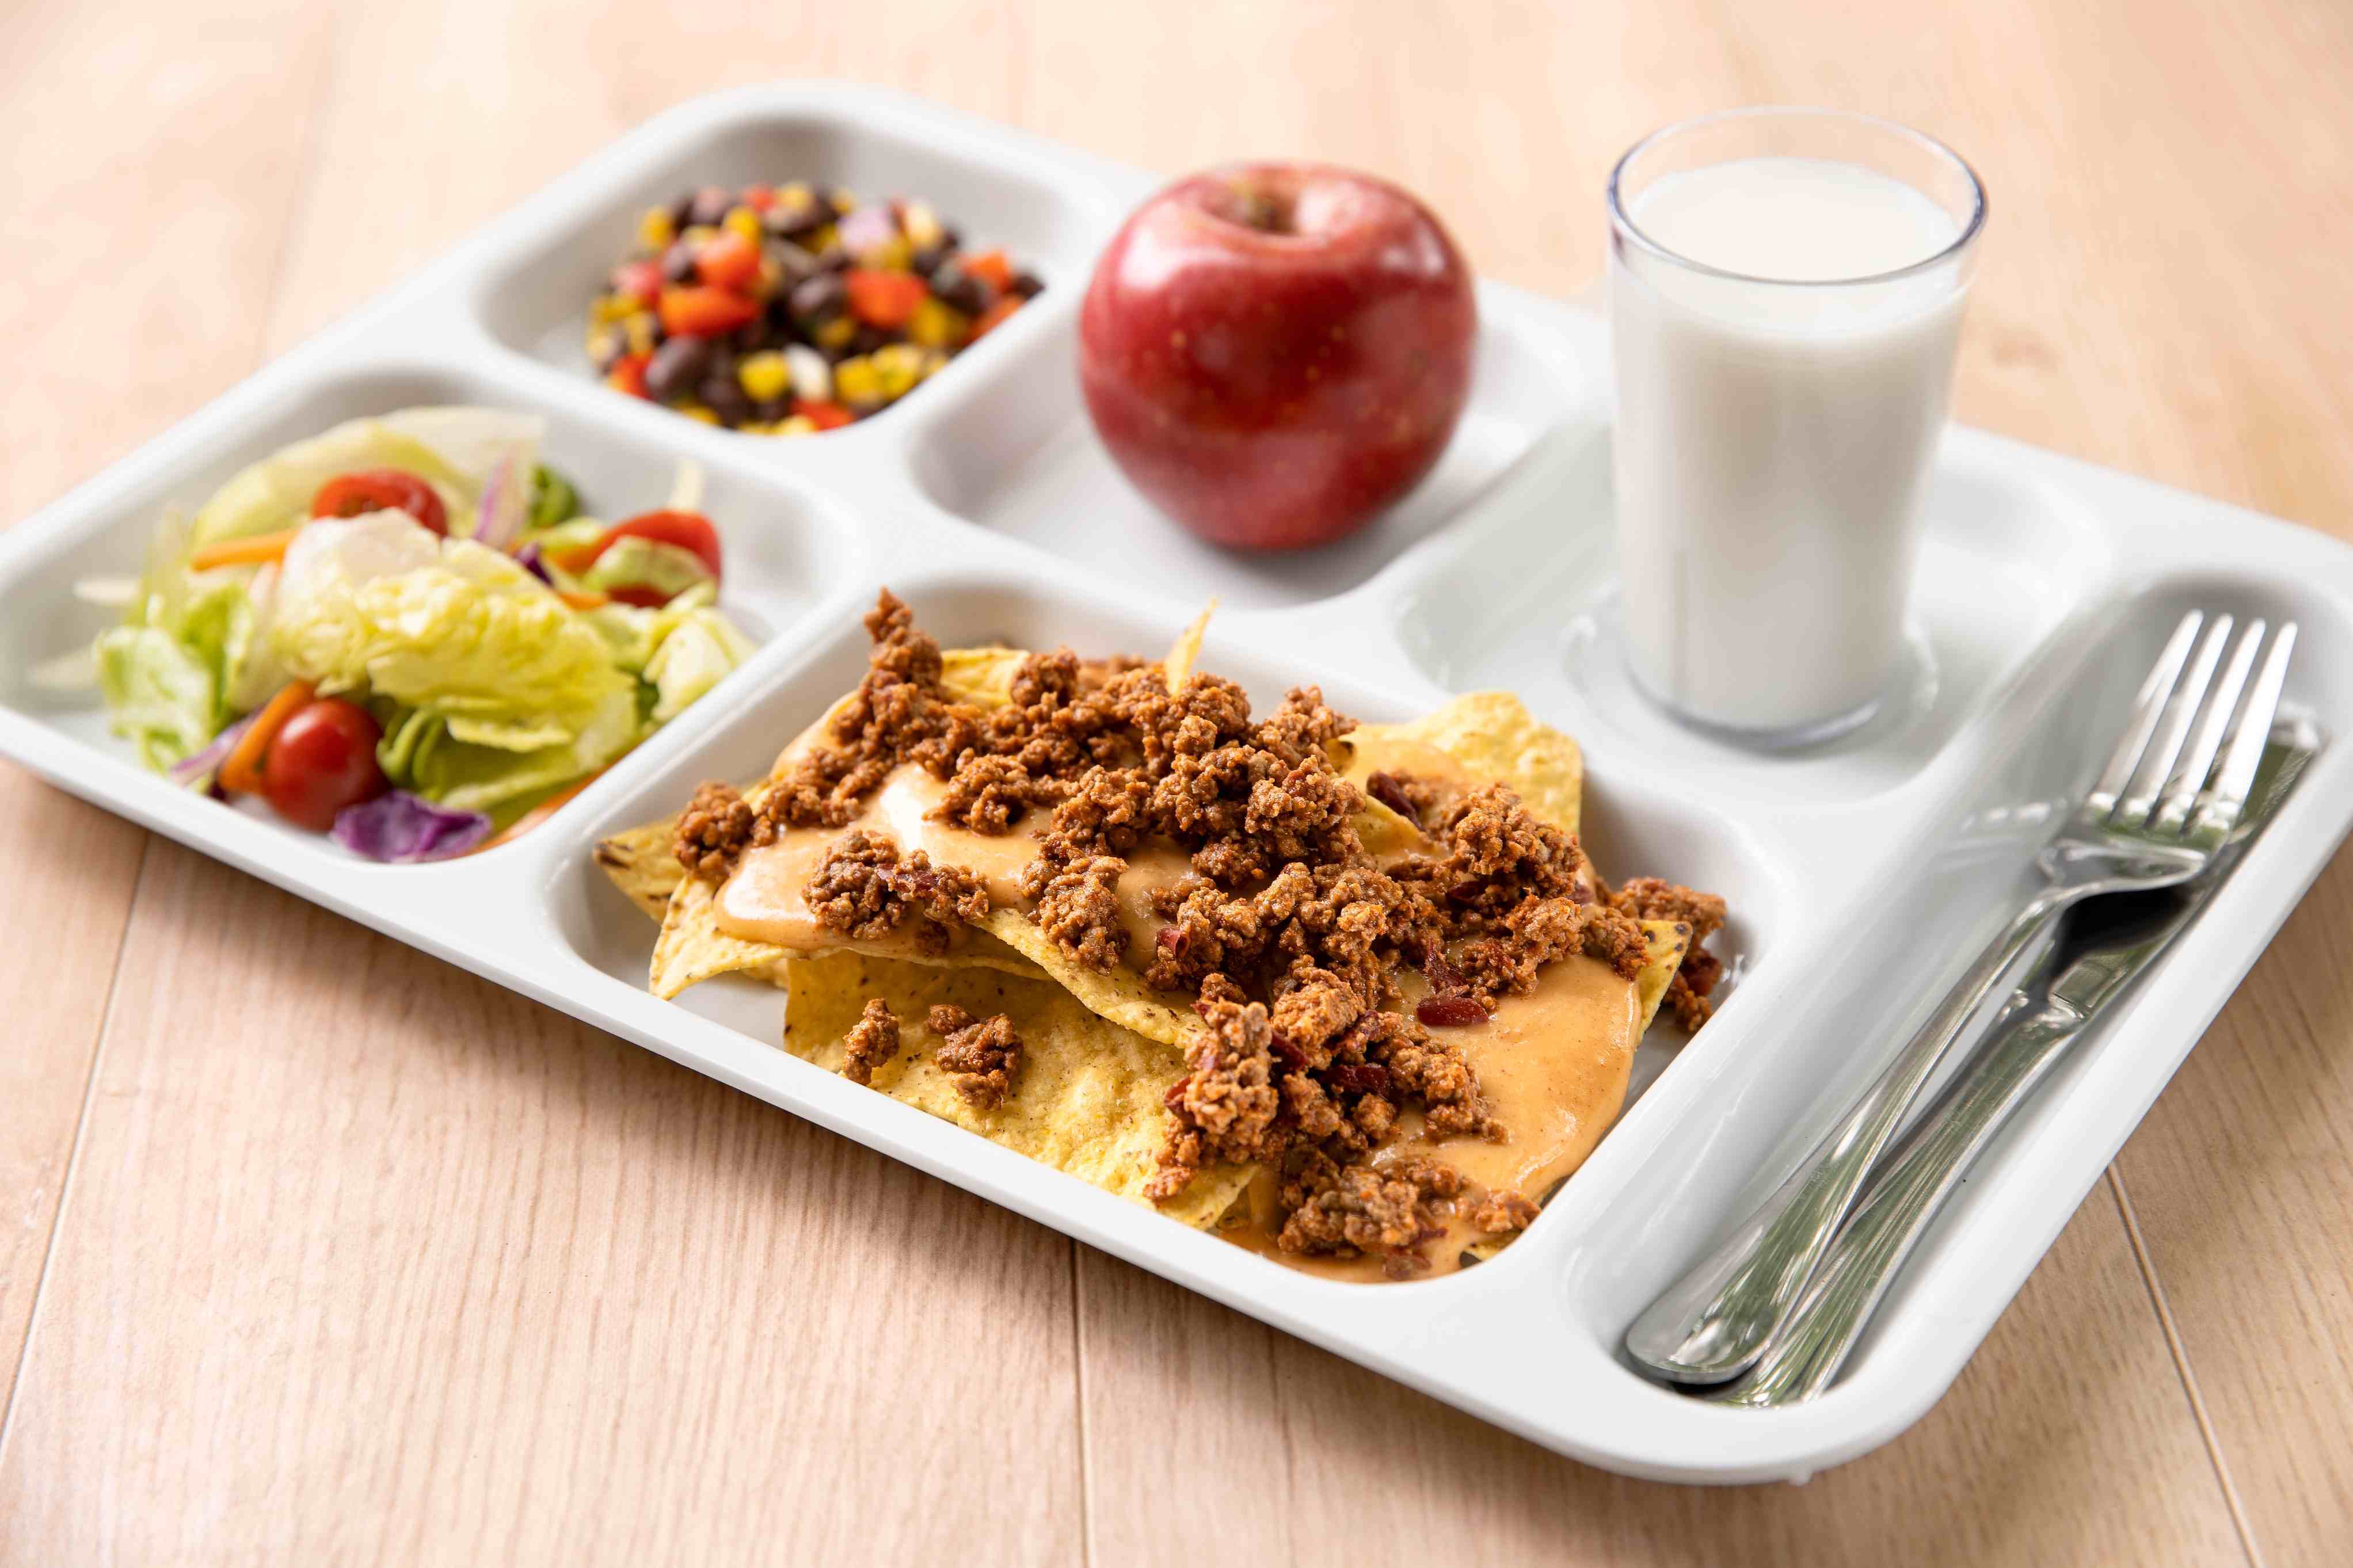
Serving Utensils
Making sure your serving sizes are compliant is the first step, using the correct serving utensil with the correct portion size is the other. Be sure that specific cooking and service utensils are specified in your standardized recipes to ensure accurate measuring and serving. Here are some examples of standardized recipes for different grade levels from The Lunch Box:


Standard Operating Procedures
Here are some SOP’s for adding Fresh/Raw Proteins to your lunch program: